
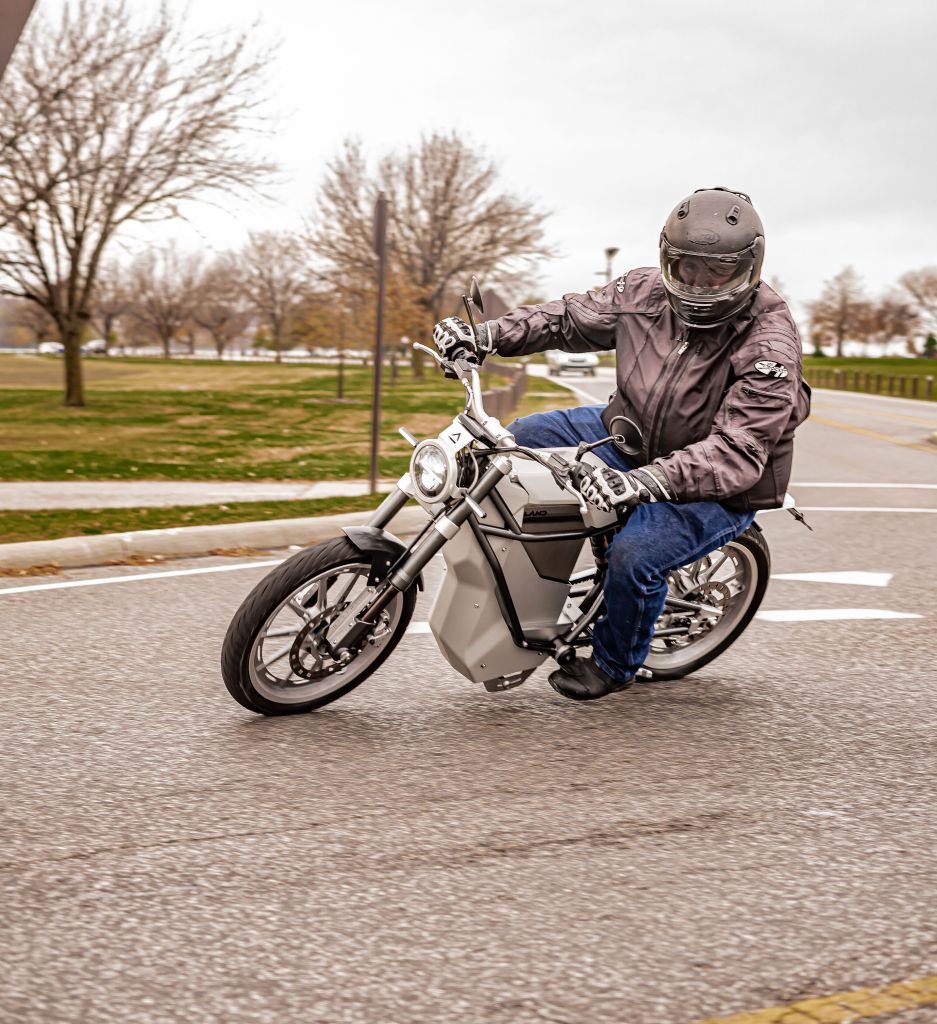
As mentioned above, things that are annoying on a casual two hour ride easily become absolutely unbearable after 8-10 hours or more. After doing the test ride procedure described in Point #2, a rider should have a good idea of what areas of the motorcycle may not be to his or her liking. Here are some of the common areas that long-distance riders look to maximize comfort:
Seat: This is probably the first area most riders look to make a change when they start riding long distance. Many stock seats work fine for an hour or two. After that, many riders start to develop some posterior pain that steadily grows from a nuisance to downright agony.
One of the mistakes some riders make is immediately dropping hundreds of dollars on a brand-new seat, when some seat accessories could have provided them with adequate comfort at a fraction of the price. One example of seat accessories is a sheepskin seat pad. Alaskan sheepskin is used in medical applications to prevent bedsores, so it is a natural fit for having your rear in contact with your seat for long periods of time. Another seat accessory is an air pad (like an Airhawk), which is inflated with air and helps promote blood flow and overall comfort. Yet another accessory is a beaded seat pad. These function pretty much the same way as the air pads, but use a set of wood beads to promote airflow and circulation. They may not look comfortable, but the author has met more than one long distance rider who given the beads a rave reviews. All of these options can be found for around $150 or less. A rider could go through two or more of the options before they have spent the equivalent of a brand-new seat.
For riders who have tried the seat accessories but find they need something more, there are plenty of options out there. Brands such as Saddlemen, Mustang, Corbin, Russell and Sargent are well-recognized within the motorcycling community. One thing that seems counterintuitive to many riders is the hardness of aftermarket motorcycle seats. When most of us think about comfort, we think about sinking into a plush couch or chair. In motorcycle riding, a plush seat does not hold up nearly as well. This is in part due to the relatively small area of a motorcycle seat. Most stock motorcycle seats become uncomfortable because the foam is relatively plush and bottoms out. That is why that soft seat that feels comfy when you first sit on it, but then begins feeling like a church pew after a couple hours. The longer a rider sits on the weak foam, the more their weight begins resting on the hard seat pan.
Testing seats from different manufacturers is often impossible, and purchasing an aftermarket seat is usually an expensive proposition. After doing the series of test rides on the stock seat, a rider should have an idea of what they would like in a new seat. Corbin seats are known for being very stiff, and tend to be preferred by heavier riders. More basic aftermarket seats are usually between $250-$400 for just the front seat. Russell Day-Long seats are known as the cream of the crop, but tend to be very, very pricey. Read some reviews on the different seat manufacturers and see which one seems to fit what you are looking for. Sargent Cycle Products, who re-did my Bandit 1200 seat and built a new seat for my FJR, has a great article about seat comfort, technology, and shape. It can be found here: http://www.sargentcycle.com/Custom-Seat-Services/Road-To-Comfort/.

Photo description: My OEM FJR1300 front seat is on the left, and my custom-built Sargent Cycle Products front seat is on the right. Note the differences in seat width and shape.
Handlebars: Adjusting handlebars is just as much as safety issue as it is a comfort issue. Riders need to be confident in their ability to steer their motorcycle in an emergency. However, comfort can also become a factor in safety. For example, modern sportbikes tend to place a good portion of a rider’s weight on their wrists. If a rider has been riding his/her sportbike for several hours and is suffering with sore wrists, that can negatively affect their ability to quickly input direction changes to the motorcycle in an emergency. Overall, a rider needs to adjust their handlebars to where they feel they have both maximum control, as well as maximum comfort.
Most motorcycles are equipped with either 7/8-inch or 1-inch handlebars that can be replaced relatively easily. Handlebars vary based on their width, rise (the height of the ends of the bars compared to the center) and pullback (how much the bars are swept back toward the rider). Each rider has their own personal preferences for handlebars. Some riders like bars that are tall with a lot of pullback so they can sit very upright. Some riders like flatter bars that make them lean forward and distribute some of their weight off their rears and onto their wrists. Whatever your preference, make sure you can still turn the front wheel lock-to-lock without the bars hitting the gas tank or any other part of the motorcycle.
Another issue with changing the bar position is controls cables and wiring. If the bars are raised or swept back too much from their original position, items like brake lines and the wiring for electrical pods may not be long enough to accommodate the new bars. Having to buy custom brake lines or extend wiring can be expensive, or cumbersome, or both. Take a look at how much slack there is in your bikes cables, hoses, and wiring before selecting a new set of bars.
Another option is handlebar riser kits. These usually consist of a set of metal inserts that raise the level of the handlebar clamps. They are usually relatively inexpensive and easier to install since they reuse the stock handlebars. However, the same issues with hoses and wiring apply to riser kits. The good news is that most of the kits will come with new brakes lines or other cables/lines that are needed. The bad news is you may need to drain and replace your front brake fluid whether it is due for a change or not. Also, riser kits only change the height of the bars. While the angle of some motorcycle steering stems may allow the bars to come back toward the rider some, the width and pullback of the stock bars remain unchanged. Just keep that in mind when considering a riser kit.
Another important point to keep in mind is that changes as little as one inch can make a big difference, for better or worse. One of my buddies (let’s call him John Bolt) bought a 2013 Yamaha Bolt a couple years ago. Coming off of a 1986 Yamaha Virago 700, John found the relatively flat bars of the Bolt very different from the mini apehangers his Virago 700 had come with. John ended up getting new bars from Yamaha that had an additional inch of pullback. John called me before he bought them, skeptical that they would make a big enough difference. I assured him they would make a bigger difference than he was thinking they would. John bought them and ended up finding one inch was all the difference he needed to be comfortable.
Personally, I changed the bars on my Bandit 1200 several times. When I first bought the bike, a previous owner had put a handlebar riser kit on it. While the bars did not seem overly tall, the pullback on the bars forced me to hold the grips at a weird angle that hurt my wrists. As I wrote about earlier, I took the riser kit off when I replaced my front brake lines with braided steel lines. The angle of the grips was much improved. However, I felt like I was putting a little too much weight on my wrists than I wanted to. What I ended up doing was reinstalling the riser kit, but replaced the handlebars with a lower, wider bar. The brake lines had very little slack in them, but they were not under tension and worked fine. The wider bars made initiating turn-in a little easier, and was also a little more relaxing on long rides. Even though it took a couple tries, I eventually got to the point where the bars were properly set up for me.
A good technique to use, after you get the seat squared away, is to sit on the bike, but not reach for the bars. Rather, sit on the bike the way you want to sit on it. Then reach out and see where you would like the bars to be. This will give you a rough idea of how much of a change in width, rise, and pullback you are looking for. Then you can start shopping for bars that work for you. Another technique is to look at the handlebars that are available, then sit on your bike and move your hands to roughly where each set of available bars would put them.
Another thing to keep in mind are your electrical pods on both sides of most motorcycle’s handlebars. Usually the turn signals switch, high/low beam switch, and horn are on the left, and the start button and kill switch are on the right. Some bars also have reservoirs attached to them for the front brakes or clutch. Many of these pods have tabs that go into pre-drilled holes in the stock handlebars to keep the pods from rotating. DO NOT just cut off the tabs in the pods. They are there for a reason. Instead, when you take the pods off of the old handlebars, measure the distance from the end of the bar to the hole. Then place the new bars in a vise, measure that same distance (or some variation, if you want to move the pods on the new bars), and drill the holes. Sometimes it is easier to drill a pilot hole before drilling the full bore. Make sure you are drilling into what will be the top of the bars when they are mounted in the motorcycle. Fluid reservoirs do not respond well to being rotated backward or forward.
For riders wanting to tour on a motorcycle with clip-on handlebars, things get a little more expensive. While a few motorcycles with clip-ons may have the bars elevated, most clip-ons set the bars below the top triple clamp. This can put a lot of a rider’s weight on their wrists. While moving the rider’s weight forward may help with handling on a race track, it is not ideal for a long day’s ride. The primary option for raising the bars is a completely new set of clip-ons (like Woodcraft’s elevated clip-ons or Helibars). Like with traditional handlebars, be cognizant of brake line, cable and electrical line lengths when installing clip-on risers. Some kits can raise the bars as much as three inches, making even the sportiest sport bike capable of long distance duty.
Some sport-touring models, like the author’s FJR1300, the Triumph Sprint ST, and the Kawasaki Concours 14 have the handlebars on pylons bolted to the top triple clamp. Riser kits are available for this type of handlebar setup. Additionally, some models offer several positions that the pylons can be adjusted to. However, few options are available for changing the pullback or width of the bars to the same degree as normal handlebars.
Footpegs/Floorboards: Options for relocating footpegs or floorboards tend to be a little more limited due to their connections with the shift lever and rear brake pedal. Footpegs or floorboards should only be adjusted after getting the seat and handlebar situations squared away. The author is 6’2, and his legs felt a little cramped when he first got his FJR. The author replaced the seat with an aftermarket Sargent seat, which raised the seat height. That little increase in seat height fixed my leg cramping problem.
If after getting the seat and handlebars squared away the footpeg or floorboard position is still a problem, aftermarket solutions are available. For floorboards, many different aftermarket floorboards are available, although many appear to reflect changes in style rather than functionality. Floorboards vary in both size and position (in terms of how far they are from the rider). Motorcycles equipped with footpegs have more options. Some aftermarket footpegs are available that allow the rider to change the position of the foot pegs without relocating the control pedals. There are also kits available for many motorcycles that relocate both the footpegs and their associated controls. The co-host on the Two Wheel Power Hour Motorcycle Show (Roy Dyckman) used a relocation kit to move the footpegs and controls on this BMW R1200R down and forward. It was a real shock to me when I test rode his bike and had a peg hit pavement when I was turning slowly at an intersection. Kits vary widely by each motorcycle model, so search for what aftermarket solutions are available for your particular motorcycle.
Another option to consider is highway pegs. These are a secondary set of footpegs that are usually located forward of the motorcycle’s standard footpegs. The idea is that they give the rider a second leg position that allows them to stretch their legs during a ride. Many BMW R-bike owners install highway peg kits on the R-motor’s valve covers. Many cruiser riders who do not have forward controls install highway pegs on their crash bars. One disadvantage of highway pegs is that they take the rider’s feet away from the foot controls in an emergency. The time it takes to move your feet from the highway pegs to the footpegs and actuate the rear brake or transmission can be 1-2 seconds. At 70mph on the freeway, a lot of ground is covered in that timeframe.


Leave a comment